
Great installations look effortless because the preparation is meticulous. Protecting walls, floors, and artwork starts long before the first hole is drilled. Here’s how we safeguard your space and collection during every step of an installation in the New York metropolitan area.
Why Protection Matters
- Prevent avoidable damage: Chips, blowouts, and scuffs come from rushing and guessing. We plan first, drill once.
- Preserve finishes: Many apartments and galleries use specialty paints and historic plaster—both require specific anchors and careful handling.
- Protect value: Proper handling reduces the risk of frame stress, glass fractures, and surface abrasion on high-value pieces.
Our Preparation Checklist (Before We Touch the Walls)
- Site walk-through: Confirm wall types (drywall, plaster, brick, concrete) and building rules (elevators, COI, quiet hours).
- Staging zone: Set a clean, padded area for unpacking, condition checks, and hardware prep.
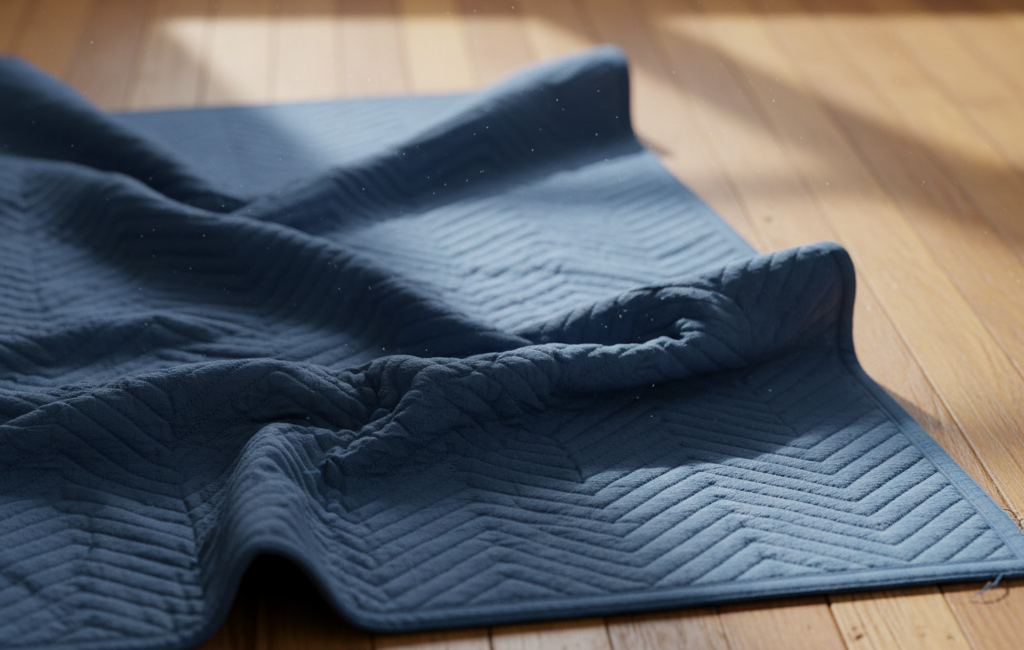
- Surface protection: Ram Board or builder’s paper on traffic paths; neoprene pads or moving blankets under ladders; furniture wrapped or moved.
- Dust control: Low-dust drilling, HEPA vacuum on hand, and catch methods beneath drill points.
Materials We Use to Protect Your Space
- For floors: Ram Board/builder’s paper, moving blankets, neoprene mats, felt sliders.
- For walls & trim: Low-tack painter’s tape for layout marks; clean microfiber cloths to remove dust.
- For artwork: Glassine, corner protectors, foam sleeves, and gloves (cotton for frames/metal, nitrile for delicate surfaces).
- For drilling: Depth-stop collars on bits, vacuum attachment, and anchor assortments matched to wall type.
Measurement & Layout: How We Avoid Extra Holes
- Metric precision: We work in the metric system for maximum accuracy—millimeter-level spacing keeps grids aligned and reduces rework.
- Laser leveling: Professional cross-line/rotary laser levels keep long runs perfectly level and plumb—even across uneven floors and tricky sightlines.
- Marking method: Light pencil or taped reference lines; no permanent markers. All layout marks are removed after install.
- Stud, pipe & live-wire scanning: We scan every drill location to avoid hazards and reduce wall damage.
- Mock positioning: For clusters and gallery walls, we dry-fit with templates before committing to hardware.
Wall Types & Anchors (Damage-Minimizing Choices)
- Drywall: For light frames, fine-thread screws into studs when possible; otherwise, quality toggle/expansion anchors rated above load.
- Plaster: Pilot holes with masonry bits at low speed; avoid hammer-drill action to reduce cracking; select anchors that distribute load.
- Brick/Concrete: Masonry anchors with depth stops; vacuum while drilling; avoid mortar joints when possible for stronger holds.
- Tile/Stone: Only with owner approval; glass/tile bits, coolant, and slow feed to prevent crazing; often we recommend alternative mounting if feasible.
Handling Protocols for Artwork
- Condition check: Quick visual inspection of frame corners, backing, wire, D-rings, and glazing before hanging.
- Hardware upgrade: Replace undersized wire or screws; add security hangers in public or high-traffic areas.
- Glazing care: Acrylic scratches easily—no paper towels or ammonia cleaners; use approved microfiber only.
- Mirrors & heavy pieces: Dual-point or cleat systems to distribute weight; verify wall capacity and anchor ratings.
What Sets a Good Installer Apart
- Precise Measurements: Metric layout and calibrated laser levels deliver millimeter-perfect alignment across entire walls and multi-piece arrangements.
- Respect for Property: Protecting floors, walls, and furniture throughout the process.
- Clear Communication: Listening to clients’ design preferences and offering professional guidance.
- Insurance & Documentation: Providing Certificates of Insurance (COI) when required by NYC buildings or management companies.
During Drilling & Mounting
- Pilot first, then set hardware: Depth-controlled pilot holes reduce blowouts and paint chipping.
- Dust capture: Under-bit envelopes or vacuum attachments protect baseboards and floors.
- Level & re-level: Each fastener is checked; metric spacing confirmed before artwork is placed.
- Ladders & tools: Non-marking feet on ladders; padded trays for tools to avoid contact with finished surfaces.
Aftercare: Leaving the Space As We Found It
- Touch-ups: Minor pinholes from previous placements can be filled upon request; we’ll advise on paint matching.
- Cleanup: Remove all tape and debris; floors swept, pads removed, pathways cleared.
- Care notes: Basic cleaning and handling guidance for each piece (especially acrylic-glazed works and mirrors).
DIY Pitfalls to Avoid
- Guessing anchor types: The wrong anchor leads to sagging or sudden failure.
- No scanning: Hidden wires or plumbing lines are expensive surprises.
- Skipping pilot holes: In plaster and masonry this often causes cracking or spalling.
- Tape on frames: Adhesives can lift finish or leave residue on gilded or lacquered frames.